Showing posts with label Interior. Show all posts

Saturday, 29 December 2018

A Call to Arms

Continuing with the upgrades, next up are armrests. I was inspired by seeing some Caterham armrests - not only do they act as straps to hold the door against the side of the car, they also prevent water splashing up into the cabin.

So, first up was some measurements transferred to a sheet of 1.5mm ally (sorry, pretty rubbish picture):


The strange shape is because my drivers side door has a bulge for my elbow. This was then cutout and bent into shape, using a combination of Black and Decker workmate and plain old bending by hand (quite surprised it worked so well):


Then a layer of foam to protect my delicate elbow:


...and vinyl applied with contact adhesive:


A set of M3 stainless steel bolts (hopefully won't go rusty and look crud) with countersunk cups, through the door material and into the flange on the armrest and job done:


Not been out to test them yet but looks great, doors feel firm and they lift up easily enough.

I also replaced the side mirrors with some funky (read 'tiny') numbers:


I've also got a new gear knob and USB sockets to fit...all good fun...

Happy New Year to you all!

Friday, 4 August 2017

The road ahead

Another first yesterday - first drive to work. Zedster looks tiny in a car park next to those huge Ford Fiestas...

Long-term, I am considering commuting to work in Zedster instead of my motorbike, partly because I know I won't get enough free time at weekends for drives out (the wife just won't be happy) and partly because I'm not sure I can justify owning the bike and car, paying 2 lots of insurance and tax etc.

I love my bike but as I get older, I'm getting more conscious of the dangers and the hassle of getting changed at work every day is beginning to get irksome. The advantage of Zedster is that at least my wife will be a passenger (unlike my bike) which may get her to come out with me. Having said that, the drive home from work was crap - trouble on the M25 meant all the local roads were clogged and it took me 40 minutes to get home instead of the 20 minutes it would have been on the bike.

So with a few drives under my belt, a few concerns to be checked/fixed:

1. Wipers - I had a spit of rain yesterday but they wouldn't move correctly. Need to try and sort this at some point.

2. Suspension setup - my tyres squeal like a 70s American cop show at any speed in a corner. I don't know if this is just because they are so new or that all cars do that and you don't normally hear it but I could do with a pro going over my setup. Comfort-wise, Zedster is great, much more so than I expected, except when going through potholes - then you feel it and the car gets knocked off-line (although not sure much can be done about that).

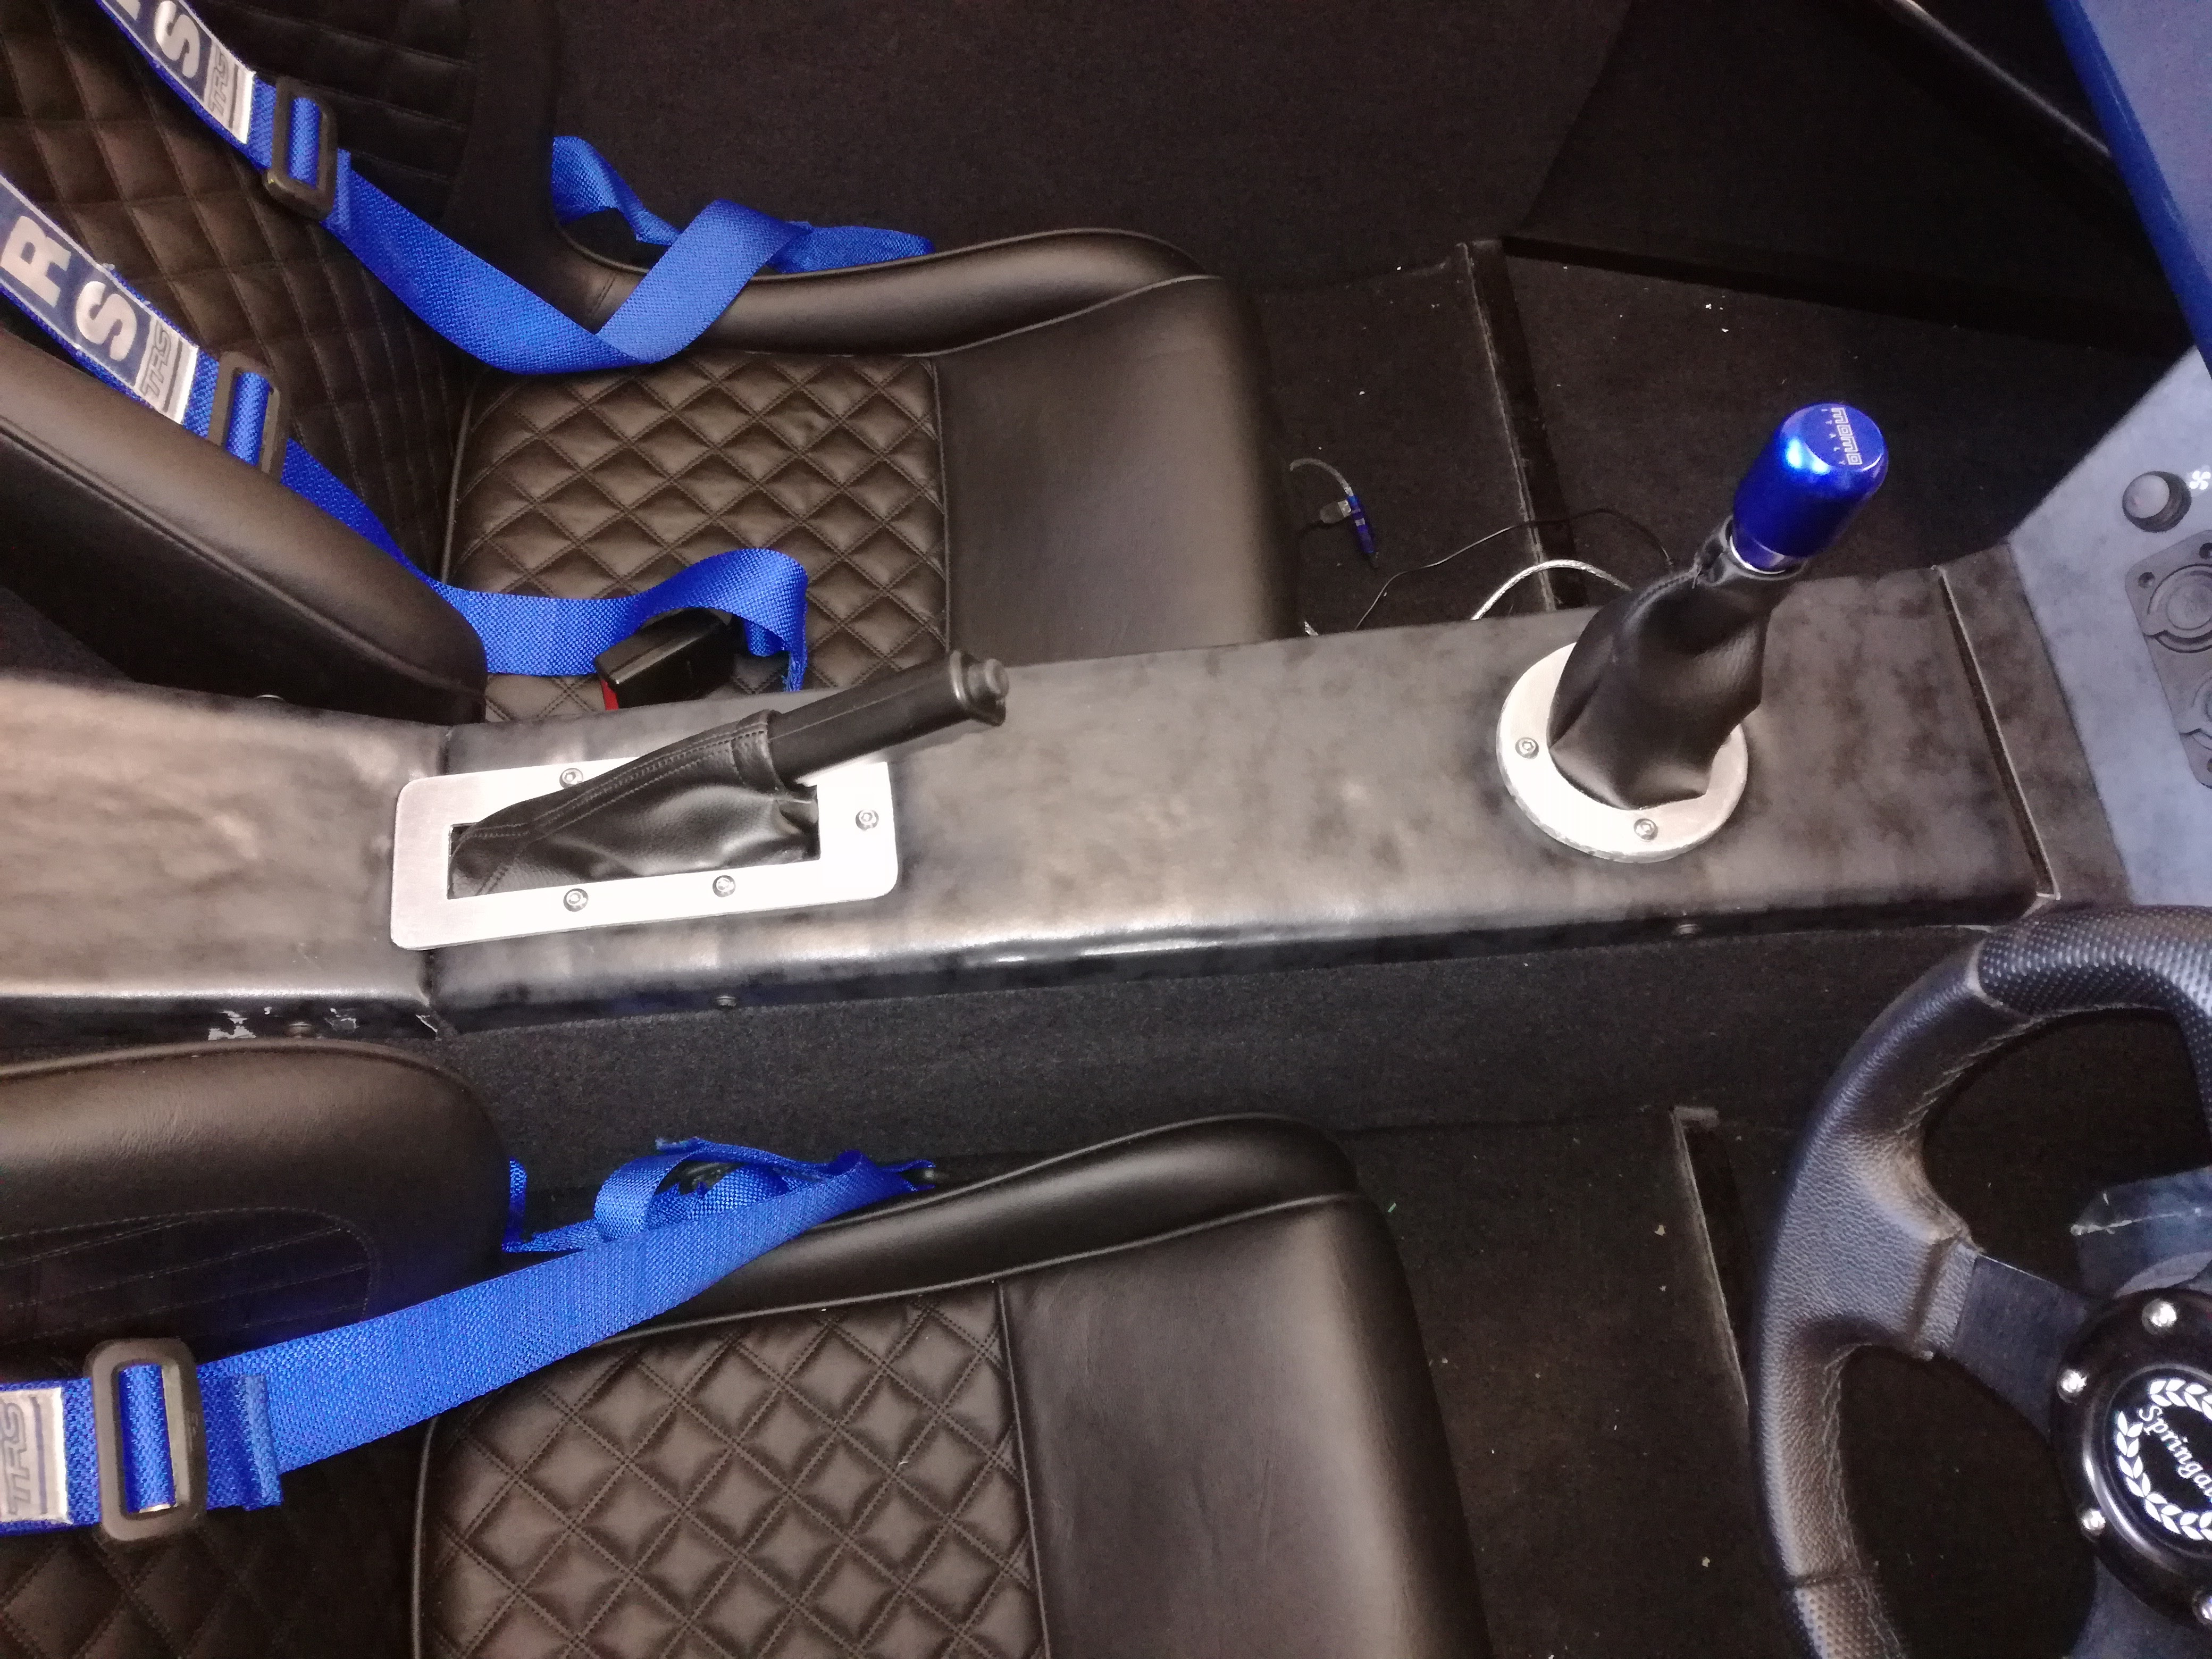
3. Tighten up the windscreen screws - they do look crud from the drivers seat - big gaps between frame and bracket.

And then there is the list of upgrades (in order of importance):

1. Roof (on order). Need to lower seats (maybe just the drivers side?) for this as well.

2. A clock - amazing how annoying it is not knowing the time.

3. Doors - I have a cunning plan/design in mind. Not sure if it's feasible but I'll keep you posted.

4. Decals, graphics, badges - ok, I've ruled out flames but I want some decals on the car, maybe a stripe down the bonnet? But I am artistically-challenged so it could easily come out a mess - I need to get expert advice (wife, probably). I have a vague design for a rear badge but I need to get to grips with 3D software.

5. High level rear brake light.

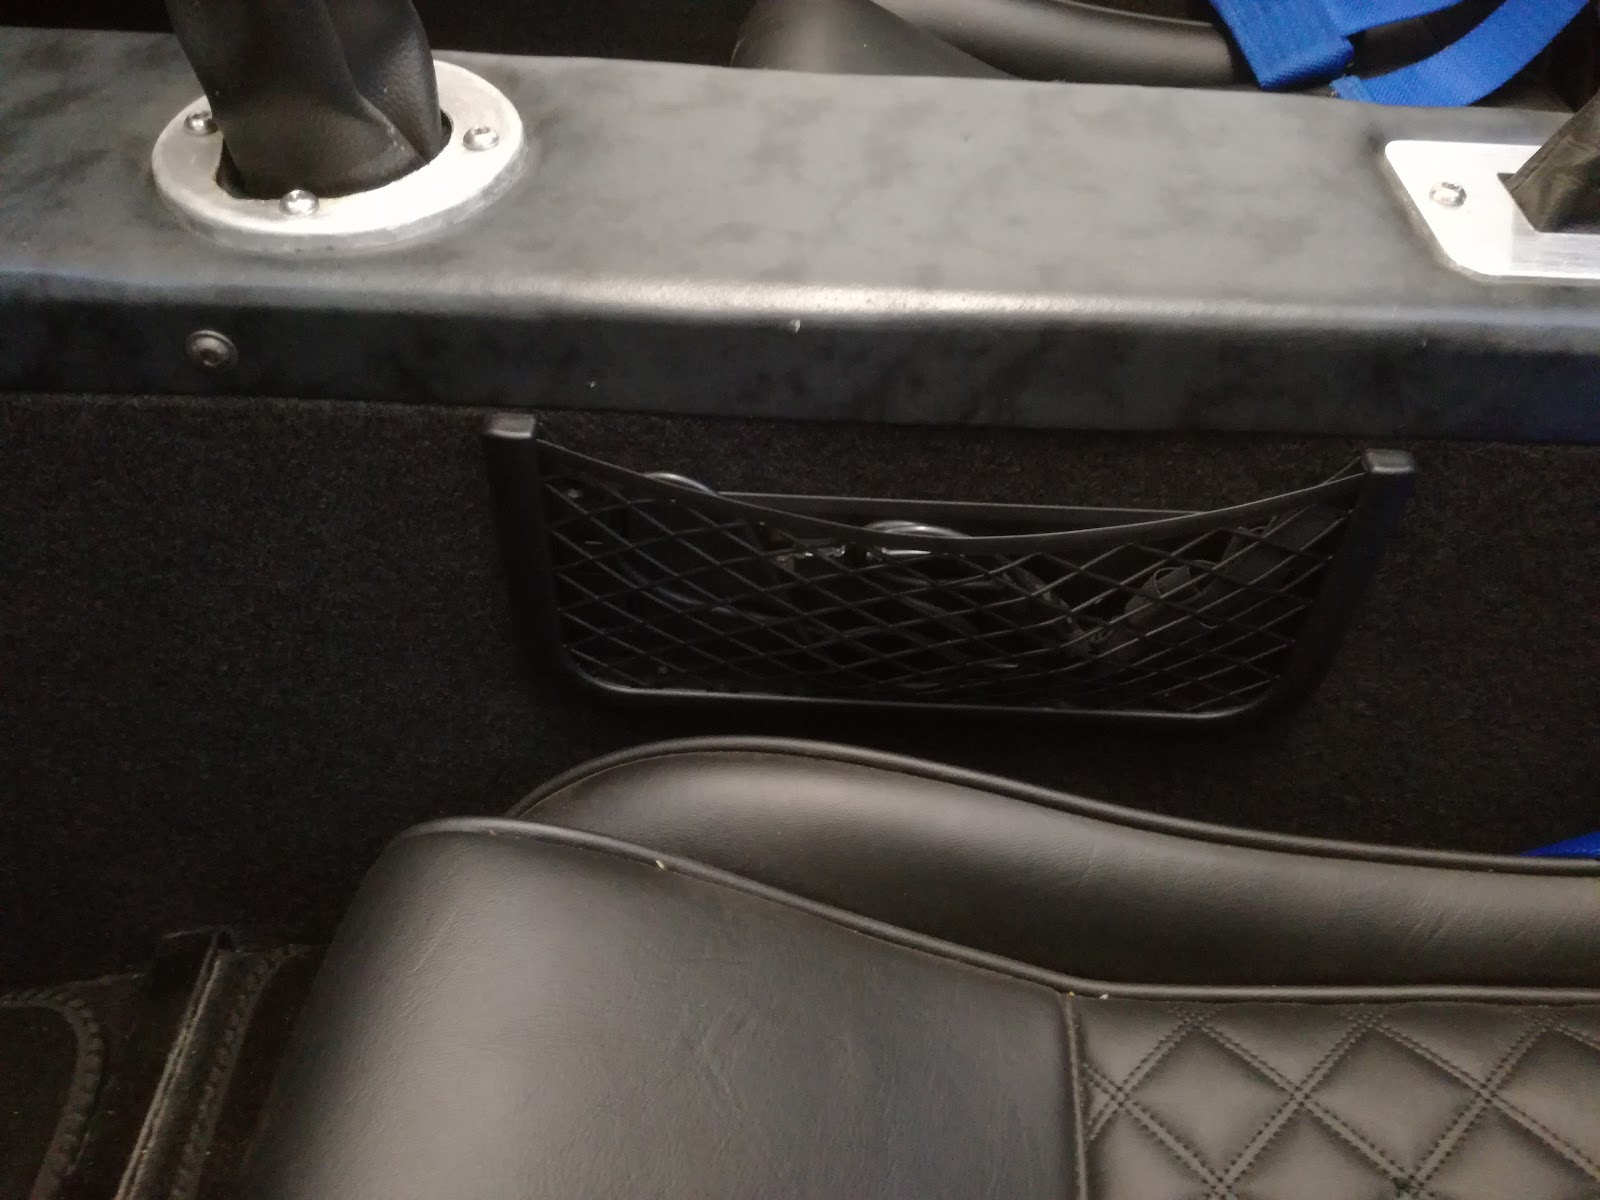
6. Glove box - storage is a problem and there is a large open space on the dashboard which could have a small, traditional glove box built into it.

That should keep me going for a while...

Sunday, 30 July 2017

Tracks of my Tears

Continuing the body theme, tear ducts added:


OK,  windscreen washer bottle - it doesn't seem to be working at the moment but that may be that,  like the horn,  it doesn't work until the ignition is on all the way ie. engine running,  so I'll try that next time out.

Added a storage net:


It looked a bit bigger on the website when I ordered it but actually fits quite neatly. I noticed on my trip to IVA that I needed something - my mobile phone was all over the place if you just leave it on  the seat. This net is only stuck on with sticky pads which might well drop off - it came with screws if that happens.

So,  with the V5 in the post,  I've ordered some plates which should arrive on Tuesday - first drive video coming up!!

Sunday, 7 May 2017

Never say never

Being so close to the end of my build,  I keep saying 'that's the last time I'll use that tool' and almost every time,  I've had to use it again.

The latest was my hacksaw - I used it for my handbrake surround and put it away thinking I wouldn't be using it again but I come to fit the surround and I realise it's had to move 3mm because of the tiny little screws on the side of the handbrake switch and now it doesn't fit! So,  a couple of hours doing a new one...

Luckily, the glue on the gearstick gaiter cleaned off with white spirit and with the two surrounds and gaiters on,  from a distance,  they look ok:


I cut too much off the handbrake gaiter so it isn't held in  with anything - if I get time,  I'll buy a new one.

Worryingly, I can't connect my laptop to the ECU,  even with the new USB connector, and I've tried a second PC which also doesn't work. I'm not sure what's going on there...

I'm told the self-centering might be fixed by loosening the bolts on the U-clamp that holds the steering rack on (I do have a habit of over-tightening). I've done that and will see if it helps on my next outing.

As promised,  a better pic of my seats:


Tuesday, 2 May 2017

Totally surrounded

Ok, the handbrake surround didn't  go as well as the gearstick (and that's not exactly a masterpiece). So I decided to make use of that 3mm ally sheet I attempted to make a bash plate with before and just make the surround out of a flat piece.

Shape cut-out and central piece chopped out:


Lots of filing and sanding later:


I've gone with the brushed look because it signifies speed and power and... OK,  so it hides all the scratches I made. Once again,  my ability at aesthetically pleasing details is utter trash. One day,  I'll try improve this (and other) bits but,  for now it will do.

I went to Stoneleigh yesterday which was a good day out but it was slightly wasted on me - I couldn't think of anything to buy and I asked a few piffling questions of Richard on the GBS stand. Good to see some other cars although it is a bit worrying how kit cars don't last very well. Some of the older ones are looking decidedly shabby and,  realistically,  that's likely to be me in a few years. Then again,  the shabiness has a charm of its own and they do have a certain Mad-Max feel to them.

Intatrim are starting to annoy me now - no news of when my seats will be ready and yet their FB page keeps showing posts of lots of other customer work being delivered - now into the 5th week of waiting (when they promised 3).

My IVA application is on hold because they want one more picture of the finished car which I don't have,  obviously.  If the seats haven't arrived by the weekend,  I'll have to send them what I have and hope it's enough.

Sunday, 23 April 2017

Shiny shiny

Argh,  still can't get the VIN number stamped,  even using the lump hammer. Going to have to do the weld option...

For those following this blog,  you'll notice I'm not very good at presentation - my build doesn't look very neat with quite a few gaps, scratches etc. Maybe not obvious from the pictures but trust me,  it's not a work of art.

Most of the time,  I'm not too bothered by this but one bit that is currently looking pretty yuck is my tunnel top piece,  where the gearstick and handbrake go. I stupidly bought mottled vinyl to cover the panel but then I'd already bought the GBS handbrake and gearstick gaiter,  which are plain black. Putting them together looks really horrible.

I've tried to buy a metal chrome surround for these bits but I just can't find anything that would fit. So,  I thought I'd have a go at making something - how hard can it be?

Actually,  pretty hard is the answer.

So, first step was a wooden former (I got this process from a thread on the Locostbuilders forum) and a disc of ally. Used a pliers to start bending the disc round the former and then a hammer to finish:


Lots of hammering,  filing, sawing and sanding later:


Again,  close up it doesn't look quite as good but I'm very proud of it and it makes the panel look much better:


(I've ordered some more stainless steel dome head bolts - the black ones are just to check the look).

I've started the wood former for the handbrake surround.

Saturday, 22 April 2017

Dig that booty

I bought the GBS boot cover and what a great move that was - a superb piece of kit that fits really cleverly around some complex shapes. It's so well done that fitting only took an hour.

The cover has little white dots painted around the edge so you don't have to do any measuring - fit the cover,  drill through the white dots and the rear panel and then rivet half of the press studs:


The only issue is that it isn't possible to get the rivets tight against the rear panel due to the design of the press studs,  so they all spin round and might be a bit rattly on the move - we'll see...

With the aid of a £3 kit off eBay,  fitted the other half of the studs through the cover and on it went:


Looks good and should keep the boot mostly dry in the rain.

My current concern is the darn VIN number that has to be stamped into the chassis. As mentioned previously,  I tried stamping and made hardly any impression (literally) on the steel rail. I then tried engraving - disastrous:


A kind member from the RHOCAR forum has offered to weld a stamped tab on but I would need to cut away some of the side panel and then there is a fuel line very close to where it needs to be welded - all a bit dodgy. I've tried practicing stamping again but this time with my big old lump hammer and that seemed better - I actually made an impression. So I think I'll give that a last try tomorrow...

Tuesday, 28 March 2017

Too quiet on the Western Front

The switch for the horn button arrived and it was surprisingly quick to drill a new hole in the aux panel and fit it:


Now all set to fit the panel - firstly,  connected all the wires:


But a problem - the horn and main beam flash buttons have stopped working! Bugger!

However,  looking back at my schematic,  the earth for the horn goes through the wiper switch which I've recently changed,  so I'm hoping it's just a loose connection there or I've wired it up wrong and lost my earth (I was never sure it was wired right). The only problem with the bad wiring theory is that I'm sure the horn worked the last time I turned the ignition on,  which was AFTER I'd done the new wiper switch. So,  hopefully,  I've just knocked a terminal off while mucking about with the aux panel...

I've ordered my seats from Intatrim - a great company to deal with; I've never spoken to anyone so enthusiastic as Rob. I actually felt bad because after all his great suggestions,  I've gone for a very plain look. I got the feeling he was desperately excited to do something complex and funky. I'm on holiday next week and the seats should be ready the week after - pictures to come.


Saturday, 25 March 2017

Details, details

It's amazing how slow progress is at this stage - when you're putting an engine in,  or bolting on suspension units,  you feel like you're making big steps. Now,  it takes me 2 hours to get the front tunnel panel on:


Initially,  I was trying to get it on over the carpet on the side panels but I don't think you can ever do that - it comes bent and only enough to fit over the panels neatly. So,  I had to trim off the top inch of carpet to get it on and I may have to do that on the main tunnel piece when I get to that.

I got some foam to lie underneath the boot carpet,  to provide a bit of protection for the fuel tank:


It looks like I'm going to have to put the horn button on the aux panel after all. The steering boss I have has the metal rings that should work with the springs for the horn circuit.  The problem is that the springs won't stay on the rings; there's a small magnet on the end but it just doesn't seem to either be strong enough or maybe I've damaged it at some point in the build. Horn button on order...

The guy from Intatrim was supposed to call me back today to let me know if they had a set of seats ready but he either forget or they aren't open on a Saturday and he forgot it was Friday when I called ☺

Friday, 24 March 2017

Are you sitting comfortably?

Well, I'm not! Darn seats are just too big now, with the carpets and the seatbelt bolts narrowing the available space. Much huffing and puffing has not allowed me to get them in - so that's £250 down the drain!

To be honest, it's maybe a good thing - with the seat almost in place and me in the car, my legs almost touch the steering wheel; there's just too much padding and I really need to be lower.

I tried to find some cheap options. One possibility arose for £170 but the reviews were mixed; some said they were fine, others that they were too uncomfortable. With my luck, I'll be in the latter group.

Based on the fact that seats are pretty important in the long-term, I've decided to take it like a man and buy Intatrim Odyssey IIs; £520 for the pair (with harness slots) but they look good in the pictures and I've never read a bad review of them. I'd love to pay another £50 and get some colour on them but I feel bad spending even more cash and also, Intatrim say they may have a black set ready to go (cancelled order from another customer), which means I'll get them much sooner.

Sunday, 19 March 2017

Belt and braces

A short session this morning to finish off the boot carpeting.

There is a single,  large piece to go on the inside of the rear panel. I could see that being a nightmare to fit myself so I cut it into 3 pieces - much easier:


I haven't glued in the base piece because I first want to buy a sheet of foam to go above the fuel tank to protect it and raise that section to the same level as the bonded in side pieces. I will not glue it in the section above the diff access plate for obvious reasons and I'm not even sure if I should bother sticking it anywhere else - I'll see.

Unleashed the seatbelts - looking good:


Next up are the seats - going to be tricky as my seats are a bit large...

Saturday, 18 March 2017

High old time

I've spent a couple of sessions over the last week fitting the carpets,  with the fumes from the glue almost overpowering at times.

Top tip: buy drip-free contact adhesive - it looks like dried grease and,  unlike the other stuff,  is easily spreadable at all temperatures.

With the non-drip stuff,  it's a much simpler job than the first few pieces I did but it's surprising how many pieces there are - quite time consuming but the results are great and it makes a huge difference to the look; more like a car and less a piece of Meccano.


Just a large piece on the inside of the rear panel still to do.


Saturday, 11 March 2017

Wall to wall shag

After bonding the boot panels in,  time for some carpeting work. The glue is a real pain,  needing to be warmed up to get it to flow. Just as annoying is how much I'm going to need of it - I've used about half of one tin on just 2 pieces. At £9 a tin,  it isn't cheap...

Did one boot panel and the main rear panel :


Does look  great,  though...

Also stuck some grip tape on the pedals :


Saturday, 4 March 2017

Non-stick carpeting

Having said the front of the car was finished,  I just had to plug in the front indicators - surely a job of seconds,  I hear you say?

Two (yes,  2!) hours (yes,  hours!) of swearing later and it's done. Jesus.....

The problem is that you can't plug them in without putting the nose on first but once you've done that,  it's very difficult to get your hands down into the nose to get at the plugs,  especially on the O/S where the throttle body is in the way. In fact,  to do the O/S, I resorted to extending the wires by a foot,  so I could pull it all the way out the nose and connect it up.

The stickers arrived for the aux panel and I labelled the various switches. Also adjusted the handbrake and bent the metal switch arm so that the handbrake light came on correctly.

The rear lights are a bit trickier than I thought - I seem to have somehow got the whole assembly the wrong way round,  so I might have to take them off fully and swap them over - annoying.

I broke out the carpets and tried to do the main rear panel piece but I couldn't get the glue to flow. The tin says to use between 5 and 30 degC and it wasn't that cold in my garage,  about 10 degC,  so not sure why it didn't move. Next time,  I'll put it in front of my fan heater to warm it up.

A concern I've had for a while was the body height - from the back,  the car has not been level. Today,  I adjusted the shocks so that they're about halfway up their travel but I still have a wonky chassis height; 135mm on the O/S and 125mm on the N/S. Maybe the weight of the exhaust? I've asked the question on the GBS forum.

Update: I'm told that the height issue is not unusual and the suspension should eventually settle but will probably need some adjustment.

Sunday, 8 January 2017

All the trimmings

The tadpole trim finally arrived from GBS (strangely,  I couldn't find it anywhere else) so I could make a start on the trim around the rear wheel arches.

This took much longer than I expected; first I had to cut triangles out to allow it to make a smooth bend around the arch:


I marked regular points and then scored the rubber with a Stanley knife, finally cutting along the scores with a small plier-type cutter. Only near the end did I realise that the knife was able to score almost through the rubber and I could just tear the pieces out! That would have speeded up the process no end and saved the blister on my hand from the cutter.

Sticking the trim on using the infamous gunk was also a slow process; did a short section at a time,  clamping at the start and then at points along the arch:


While they dried,  I fitted the passenger tunnel panel; gunk and rivets:


So many little bits to do; stuck some rubber on the top chassis rails for the bonnet to sit on,  trimmed the tabs off the scuttle,  riveted the VIN plate onto the pedal box lid and put IVA trim on the nose cone.

I wanted to make a start on  the front wheel arches but I couldn't work out which way round they go (they're the 'sports'  arches which aren't symmetrical). Asked a question on the GBS forum...

Tuesday, 22 November 2016

The good, the bad and the blue

The Good: my reversing light works. This might not sound like much but some people have found the reversing switch on the gearbox doesn't work. I couldn't test it while the gearbox was out the car because I couldn't the gear lever into reverse without the clutch pedal. If it hadn't worked,  gawd knows what I would have done because that switch is not easily accessible. So BIG relief...

The Bad: the handbrake light doesn't work. Might just be a fuse... needs more investigation.

The Blue: I wanted to use washers on the bolts holding the dashboard in because I'd had to widen the holes and so I needed to hide the gaps and also it's GRP so needs to have the load spread. But normal ally washers would just look a bit too industrial so I tried to find some blue ones,  to vaguely match the dash. I couldn't find blue bolts and washers but I did find these:


Supposed to be bling for engine bays but I quite like them:


Saturday, 10 September 2016

Switched on

Been a bit of a detour as I had problems with my motorbike over the last week or 2.

Also, after the excitement of starting my engine,  my PC decided to get the mother of all viruses and crawled to a halt. This meant I couldn't run the Emerald software. I've wiped my PC and installed Ubuntu but I've had a few problems getting it working with the Emerald software. However,  I think I've got it working so I'll try that next time.

However,  I've decided I need to get the wheels on and roll the car out the garage for engine tuning - it's too dangerous in my garage because the fumes build up very quickly when the engine is running,  especially as it's running very rich at the moment.

In the meantime,  the Carling rocker switches arrived and they are superb - lovely quality,  lovely illumination, superb movement and the same price as the rubbish ones from CBS:


Also finally got round to finishing off the accelerator pedal,  with a home-made pedal stop:


Saturday, 27 August 2016

Exhausted

The correct bolts arrived so I was able to tighten up the manifold - next the silencer.

I cut two 10mm slots in the silencer end, opposite each other,  to get it to fit over the manifold end. Judicial use of a rubber mallet and my 42mm socket (don't ask) helped spread that end of the silencer to allow it to slip over the manifold end.

Then,  a minor panic - the exhaust end didn't get anywhere near the support bracket - about an inch to the right and too high as well. I could pull the can out the required inch but there was no way to push the end down more than a mm or so.


A thread on the GBS forum panicked me more when Simon started suggesting I might have fitted the engine too high!! Visions of having to take the engine out spurred me on to look at it again and,  thankfully,  I discovered  the problem.

I had angled the silencer pipe down 45deg, thinking to direct fumes away from my passengers. However,  simply rotating the silencer so that the exit pipe was horizontal lowered the end of the can perfectly. I had to still pull the whole thing out an inch but I think that will be OK.

So, with today being one of the hottest of the year (about 30degC in my garage) and me dripping with sweat,  I am both literally and metaphorically exhausted:


Also,  a bit of bling: