Monday 31 August 2015

Suited and booted

Putting the new boots on took longer than I expected,  mainly because of the weird clamps used to hold them on. They're a bit like Jubilee clips but tricky to get tight as they rely on using a pliers to crimp them. But finally finished and look pretty good:


... and then fitted in to the diff:


While I was on a roll,  I whacked the rear hubs on as well:


Not torqued up yet because I'm a bit worried I didn't do enough thinking/checking before putting them on.

But in one foul swoop,  I have a much better car-shaped thing in my garage now.

Friday 28 August 2015

Lines of thought

I was getting a bit panicky about how many jobs there were that I'd  started but couldn't finish - handbrake,  pedals,  master cylinder etc. 

But after some thought,  this is the plan of attack:

1. Fit driveshafts (now painted but need new boots fitting). 
2. Fit rear hubs. 
3. Rear brake discs and calipers. 
4. Fit handbrake cable to caliper. 
4. Brake lines from 4-way unit above diff to calipers (copper to braided). 
5. Brake line from master cylinder to 4-way unit. 

Started by fitting a rivnut for the 4-way unit:


More difficult than it sounds - the hole is too big really and I destroyed 4 rivnuts before cunning use of a soldering iron got the job done. 


As I plan to start on brake line routing,  I thought I'd better check where the steering column goes:


Raised a few concerns about proximity of brake pedal to column and if I've done the 'grommet from Hell' properly. 

Wednesday 26 August 2015

Mix 'n match

I've been keeping my eye open for a brake fluid reservoir as they're supposed to be hard to find and that was proving to be true.  None on eBay (yes,  it's possible) and no luck on those various sites supposedly linked to breakers yards round the country.  There's one listed on the GBS website but whenever I've looked before,  it's always said 'out of stock'. But suddenly,  while aimlessly looking at other stuff,  it came up as 'in stock'! I've never rushed through a payment process so quick! Arrived yesterday:


UPDATE: I thought this was the standard Sierra reservoir that fits on top of the master cylinder but no,  it's the reservoir that goes with the remote kit that GBS sell - doh! The Sierra ones are almost impossible to get now -  Ford have stopped making them.

Bits and pieces tonight - got the old boots off the driveshaft,  cleaned them up with a wire brush and brake cleaner and put a coat of Hammerite on the main shift. I'll also do the ends another day.

Got the correct bolts for the master brake cylinder and loosely installed them. Loosely because I seem to have a habit of needing to unscrew everything.

Attached the handbrake and cables (loosely ☺) :


Finally tonight,  some practice with brake pipe flaring. First attempts a bit iffy (on the left) but sorted by the 3rd attempt (on the right) :


Update: OK,  major problem here. The flares I did here are single flares and they are NOT right for brake lines. They need to be double flares. 

Sunday 23 August 2015

Bouncing on

Well,  turned out I'd left a penny washer out of the lower wishbone to hub carrier bolt,  which is why it was sinking in to the bush. No harm done apart from the time needed to take it out and re-do it.

A good piece of advice from GBS when tightening this all up is to disconnect the shock from the upper wishbone.  Before tightening,  the hub/upper and lower wishbone combination should move freely -  in fact,  it will drop down under gravity alone.  Then tighten one bolt at a time,  checking that you can move the combination by hand. The suspension may stay in one place by this point but still be moveable by hand. I just then tightened it as much as I could (within reason),  checked it was still moveable by hand,  reconnected the shock and job done,  finally.

Last little job was to use a paint pen to mark all the bolts.

Oh and another good piece of advice is to make sure any bolts that come close to where the rear panel will be,  is to make sure they are put in with the nut end nearest to the panel. This means that,  one day in the future when the rear panel is on,  you will still be able to remove the bolt without having to make a hole in the rear panel. Hope that makes sense...

I've started on the next job of preparing the drive shafts:


They're directly off an old Sierra,  so I just want to replace the boots and clean them up a bit. Taking off the old boots produced a large amount of old grease which has made a right old mess of my workbench. Not done any more for now as I need to work out what to degrease it with and what sort of grease to put back in.

For a laugh,  I took the handbrake kit out of its bag but not a great move -  I have absolutely NO idea how it fits in. I fear poor Simon at GBS will be called upon again...

Friday 21 August 2015

Groundhog Day

Spent the evening putting the new crush tubes back into the suspension and rebuilding it all.

This is the slight difference in length (rubbish photo,  sorry) - very little and maybe it wouldn't have been a problem especially since I've tightened it all up with the new tubes and it seems... er... just as tight.


I've also tried to torque up one of the bolts. I asked GBS what torque setting to use and the guy said he never torqued bolts (apart from major engine bits). I suggested 90nm (from a website he had recommended) and he said that sounded right,  so that's what I tried. Problem is,  the washer is getting squeezed into the bush without getting to that torque level. Another GBS question...


Thursday 20 August 2015

Crushed

Darn,  flip,  bugger.... Captain Screw-up has made a visit...

You know I said the suspension seemed a bit firm? It is.  Too much.

When I started the suspension,  I read some older blogs which stated that they had to file the crush tubes down a little because they were too long and not flush to the bushes.

What I didn't  realise was that,  a year or 2 ago,  the crush tubes were being produced 3mm or so too long so they did have to be filed down. However,  since then GBS have a new laser cutter which cuts the crush tubes much more accurately so they don't need any filing now.

In fact,  the crush tubes are supposed to protrude a tiny amount (0.1mm maybe).  I saw this protrusion and assumed this was the extra length that others had to file down.  Nope. No. Wrong.

If you do this,  when you tighten up the bolts,  they lock up against the bushes instead of the crush tube. As the suspension relies on the bushes being able to rotate around the crush tubes,  if they are locked up,  the suspension cannot move and you get what I have.

Bugger.

Spent an hour removing the suspension and getting all the crush tubes out. I've called GBS and they've sent me a new set of crush tubes.  I also ordered some bolts needed for the brake hubs and carriers - £50 I didn't want to have to spend.

On a slight positive,  I've done my first rivnuts for the LP fuel pump shelf:


Strangely enjoyable and they are a great invention. I vaguely put everything together,  with the exception of the filter.  Being a tightwad,  I bought a filter off eBay (£6) instead of paying GBS (£45) - however,  mine doesn't come with the bracket to attach it to this panel,  which I guess the GBS one does have?


Wednesday 19 August 2015

Washing up

GBS have advised that I should use the smaller flat washers under bolt heads and nuts rather than the penny washers I had used. Because they're thicker,  the smaller washers are less likely to distort when tightened - the penny washers are only for shimming.

So I spent a good hour replacing the penny washers on the suspension parts,  so they look like this now:


I've tightened (not torqued) the bolts but I'm a little concerned - the suspension feels too solid. Before I tightened up,  I could just very slightly compress the shock by hand by lifting on the hub carrier  - now I can't.  Another question for GBS... they're going to get very bored of me.

Also,  the bolts for the shock don't seem long enough - I'll only 1 or 2 threads showing when I tighten them up,  which doesn't seem enough.

And the rear hub carriers that arrived the other day have no bolts with them - am I supposed to source them? Another GBS question.

Who'd have thought bolts would cause so many problems?

Monday 17 August 2015

Wish upon a bone

Ooh exciting - I was able to get the shocks out of the box - they are a lovely,  solid bit of engineering and the first seemed to go on so easily:


Hopefully this is the right one - it's one of the shorter pair that I believe go on the back.

The suspension on the right hand side was a little more temperamental,  requiring some filing of the upright to get the washers between the upright and the lower wishbone,  which I've read is pretty important:


So both sides now done,  although nothing done up tight yet.


 I've read that I shouldn't torque these up until the car is on its wheels,  although I'm going to question that because at the moment all the bolts are easily accessible.  By the time the wheels are on,  it might be a lot trickier to get to them.


Sunday 16 August 2015

Pedal to the metal

A few days break and back to work...

The inner pedal tube I've been trying to file down is obviously made of adamantium - after about 3 hours,  3 sheets of emery paper and 2 sheets of aluminium oxide paper (supposedly better than emery paper),  I seemed to be getting nowhere. So out with the big guns,  a file. Even then,  it needed several attempts before I finally got the pedals to go on easily.  Unbelievable.

After that,  the pedals were simple to sort out,  apart from some filing down of spacers:


Nothing tightened up yet - lots to sort out before that. Need to get some proper bolts for the brake cylinder for one.

Finally cleared out the seat belt fix point threads - took quite a while because there were 8 of them to do:


Now started on the proper suspension - I started with the left rear,  having no clue how it was supposed to go on. However,  it seemed pretty straightforward which is worrying because it probably means I've done something wrong.  I'm going to go off now and check a few other blogs to make sure:


Again,  nothing tightened up yet in case it has to come off.

Good progress today...


Tuesday 11 August 2015

Diff-icult

As promised by GBS,  the diff fittings turned up today,  along with some friends :


Drive shafts,  front uprights and.... er....  other bits which I'd paid for but weren't ready on my collection day.  Still waiting for the propshaft but no rush for that.

So,  decided to get the diff in. Unfortunately,  my son was unavailable to help but I soldiered on (I mentioned that I wasn't very patient,  yeah?). First attempt at getting the diff up was... dubious (those of a H&S-nervous disposition may want to look away now) :


That at least got it up to almost the right height,  then some straps to let it sway gently in the breeze:


That was the easy part - the various bolts were a pain in the neck. The first lower bolt was pretty easy as  it went in a slot,  although I did have to file a little off one of the spacers to get it in. After that,  I could never get all holes lined up - I could get any 2 bolts in  but the 3rd would always be slightly out. Eventually decided on ensuring the 2 smaller front ones were in and got violent on the last long bolt across the top - it's in:


I feel like I've been 5 rounds with Tyson :-)

None of the bolts torqued up yet - I'm just waiting on an answer about whether I should have put an extra 2 washers on the lower bolt next to the spacers. They weren't in the kit but because they're in a slot,  there's a lot less metal keeping them in place.

Monday 10 August 2015

Two steps forward...

Turns out the only thing I thought I'd done right yesterday was,  in fact,  wrong :-).  Well,  not horrendous but the passenger footwell panel was on the wrong side of the chassis - should have been the engine side. Just means I had some extra holes on the inside,  which actually turned out quite well as it allowed me to attempt my first rivet (as a means of filling in the holes)  - you can see them in this pic:


Other improvements - the latest coat of paint on the caliper has greatly improved things,  although that may be because I went a bit nuts and splodged a thick coat on.

Also,  I finally got the crush tube out of the pedal and started filing it down but it's taking ages and really going through the emery paper:


At least all the interior panels are now drilled and ready to fit.

Called GBS today and they have the diff fitting kit for a measly £14 including delivery,  which is incredibly reasonable (the 2 bolts alone cost £10 undelivered from eBay). On top of that,  I ordered it today and I got a text message from the courier firm to say it would be delivered tomorrow! Very impressed...

Saturday 8 August 2015

Swiss cheese

Well,  after a sweltering time in Spain,  back to... er...  hot England and some build problems.

Firstly,  painting the front calipers is not going well. After 4 coats,  it's just not covering as well as the back ones did and the front calipers are more visible than the backs.  I'll persevere...

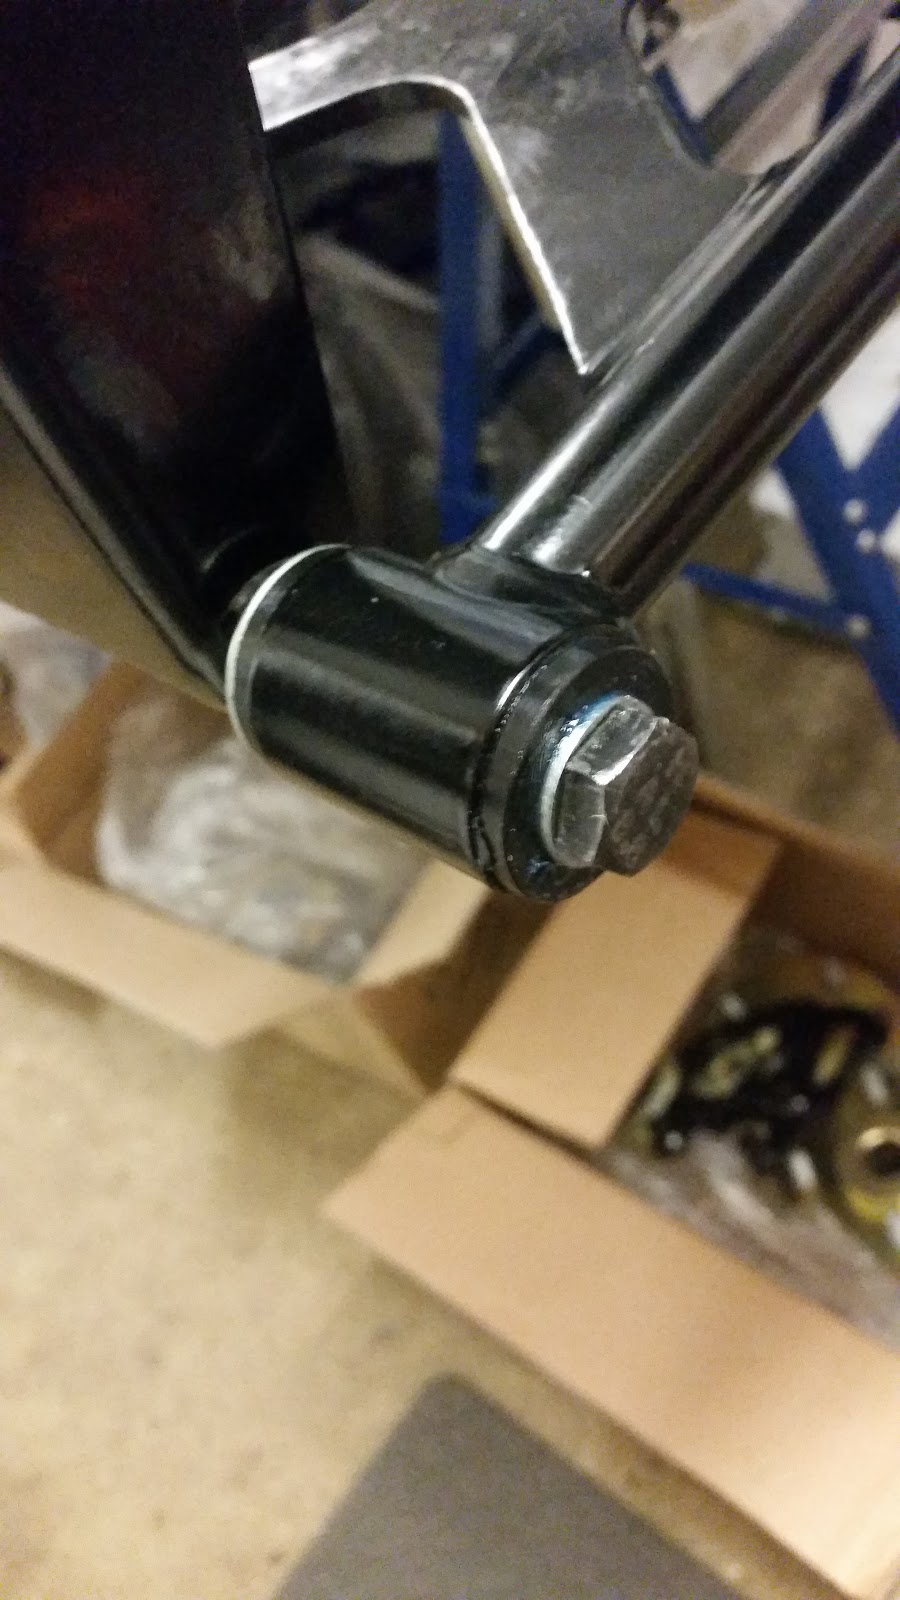
The tight pedals are a problem so I've had to try take them apart.  It seems I need to get some thickness out of the crush tubes so that the pedals move freely. Unfortunately,  that's not proving easy - I can't get the darn main crush tube out the pedal. I even put it in the freezer hoping it would contract enough but no good. I may have to hack it out and get a new one from GBS.

Then I tried to use the new tap,  now supposedly the right size,  to clear the powder coat out of the seat belt threads. But,  again,  it feels like I'm re-threading rather than clearing out. I've put a question on the GBS forum - maybe that's normal?

I wanted to get on with the diff but I needed some fittings for it. Simple,  you'd think,  in this day and age of instant gratification but no. It seems that 270mm M12 bolts are not available from the usual suspects (Screwfix,  Toolstation etc). Annoyingly,  GBS do a fitting kit with everything needed which,  if I'd thought ahead,  I could have ordered as part of the main kit collection. Now I have to wait for Monday to order it and then try be patient until it gets delivered. I'm not a patient person.

Finally,  in this tail of woe,  GBS  advised that ALL bolts should be of strength 8.8 or higher,  to save hassle at IVA time. So the pack of bolts I bought (4.8) are useless and a waste of £10 or so -  annoying.

The title of this post refers to the fact that I at least did something positive,  drilling holes for the footwell and tunnel panels:


But even that wasn't perfect - there are quite large gaps (3mm) in a couple of corners. I'm not sure if I've put the panel in wrong or that is normal and I'm expected to try fill it with gunk later or just leave it - another question for GBS.

UPDATE: gaps are normal,  fill with gunk (sorry,  bond).

Not a good day but it's never going to go smoothly the whole way.... some good lessons today.