Sunday, 29 November 2015

Sumptuous

This is what an engine looks like with the (full) sump removed:


I decided it would be OK to just remove the bolts that I needed to change one at a time,  in the hope that nothing would drop out. Luckily,  it was fine and all 4 bolts were quickly replaced - they're the long ones sticking out:


Then it was simple enough to bolt on the windage tray,  as it's known (see Dave,  I know all the big words :-) ) and the oil pickup pipe:


Important: at this point,  you should trial fit the dipstick  and see that it comes out at the right place.  I didn't and I've got the feeling mine goes into that windage tray rather than the body of the sump. I'm not taking the engine out just to fix this but worth checking if you are at this stage. 

EVEN MORE OF AN UPDATE: check that oil pickup pipe and bend the edges of that windage tray up otherwise this happens.

At this point,  it was lucky I had checked the blog of a Tiger builder because the sump needed a small groove filed into one corner for it to fit properly. Used my Dremel and then a file:


I'd already put the black gasket on the sump and stuck it down in places just to make sure it didn't get dislodged while trying to fit it. Compared to the original gasket that came off the engine,  this one was a little small in my opinion,  so I added some instant gasket round the edge. This is similar to the black gunk used to bond the panels on but it is rated up to 300 degC - it's the red stuff in this pic:


Finally,  time for the scary bit - attaching it to the engine.  I started by putting the sump in the yellow tray the engine came in and tried to lower the engine onto it but that didn't work - the engine swayed about too much. So I raised the engine and just lifted the sump up underneath. Bit of fiddling,  got a couple of bolts in and success. Rest of the bolts in and all torqued up - looking good:


So another big job done,  just the starter motor and alternator to bolt on to the engine and it will be ready to go in the car. Obviously,  I need to wait for the gearbox to arrive first and that could be another 2 weeks! 

Saturday, 28 November 2015

Free! Be free!

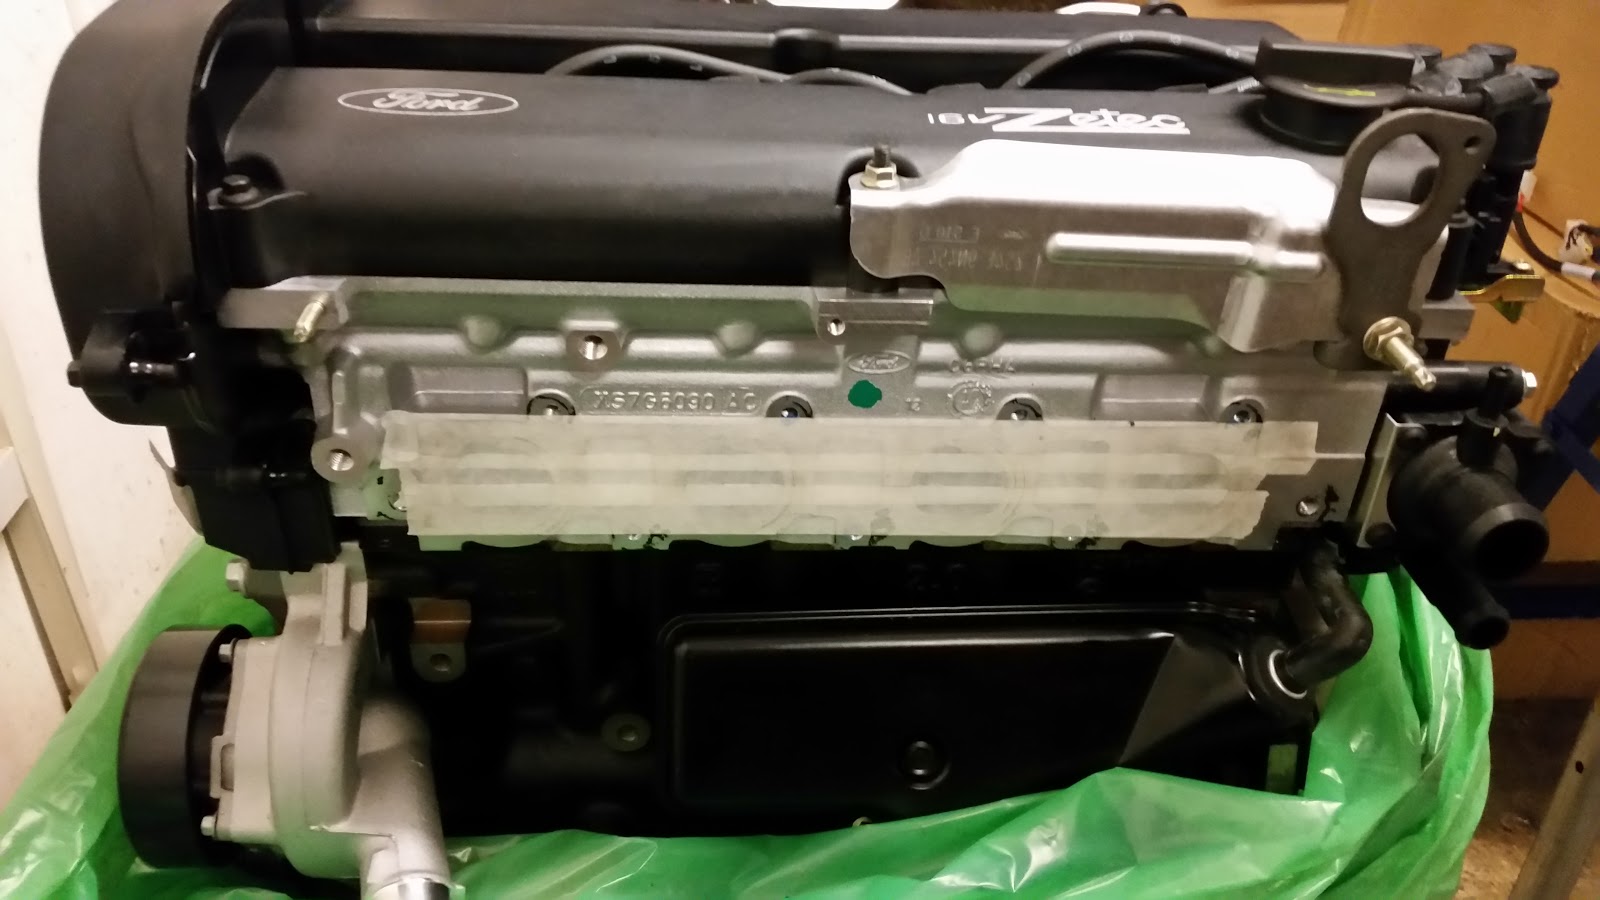
After 10 (?) years,  the Zetec is free of its yellow cradle:


Building the crane was hard enough - blimey,  that thing is heavy! First job was to drain the oil:


Impressive colour considering its age... oil filter also loosened in readiness for the smaller one,  when I get it.

Next step was removing the sump and I'm going to have to confess to a 'blonde'  moment.  I removed the black part on the bottom of the engine and was immediately confused - this black bit was smaller than the supposedly raised sump I'm putting back on:


Now,  at this point,  I compounded the embarrassment by calling Tiger to ask why this was.  The kind mechanic then had to explain to the retard on the phone that that black bit is only half the sump - there's another ally section that has to come off:


 Did I feel stupid? The guy admitted that I had won the award for Most Stupid Question of the Day,  so that's an achievement,  I guess.

So,  I removed that section as well,  revealing the soon-to-be beating heart - pistons,  the infamous big-ends,  crankshaft. I'd never seen these things in the flesh before,  so it was quite exciting - sad,  huh?

The next step was to fit the extra plate for the Tiger sump. However,  Looks a little scary in that I have to remove 4 bolts holding half the crankshaft in, replacing them with specially adapted bolts supplied by Tiger. My problem is that I'm doing this with the engine hanging from the crane - last thing I want is for half the engine to drop out on my lap. So stopped for the day and I need to find a Tiger build blog and check how they do it.

Friday, 27 November 2015

Manifoldly exhausting

I worked out that,  with postage,  it would cost over £40 to send the air inlet manifold off to GBS to be filed flat, which seemed a bit much for something I should be able to do myself, so of I went.

I started off with the best intentions - I would start with my big file,  get down to a couple of mm and then use wet and dry or emery paper or something,  to get a nice smooth finish. I made a mask out of cardboard to prevent the file scraping bits it shouldn't :


... then paper as I got lower:


Got down to a few mm and started with emery paper and then it went a bit pear-shaped. After 10 minutes of paper,  I didn't seem to have taken off anything - 5 minutes more and my patience had run out. Out came the big file again and,  very carefully,  the last few mm were done:


Despite my resorting to brute force,  this still took me about 3 hours! And I still haven't done the final fine sanding down. 

Sump tomorrow,  hopefully... 

Sunday, 22 November 2015

Stand back - master craftsman at work

OK,  'master' may be pushing it but I have made (drum roll please) - A BRACKET! From a flat piece of metal,  I have fashioned a piece of art (almost).

Can you tell I'm proud?

OK,  so I needed a bracket for the speed sensor.  GBS do one for £13 but,  hey,  why buy one when...? So,  from my sheet of ally I bought before,  magic!


Lurverly....

I've riveted it to the drivers side tunnel and roughly fitted the speed sensor after putting a single bolt into the propshaft for reference:


 I had a bit of a panic with the propshaft -  I was told the end with 8 holes connected to the diff but that has a larger flange than the other end and it is too big to fit through the chassis rails:


I've turned it round and I'll just have to confirm with GBS that it's OK.  There's no way it's going in the other way unless I can trim a few mm of the flange which is probably not a great thing.

Also trimmed and fitted the gearbox mount:


I've also managed to borrow an engine crane from Jon on the RHOCAR forum - many thanks Jon and to the 3 others who so kindly offered their cranes. Didn't realise the darn thing was so big:


Finally,  I cut the original air inlet manifold to free up the bit I need to keep and re-use. I was planning on smoothing it down myself but I think GBS can do it for £20 or so and they'll do a much better job,  so I might send it off to them.


Badly need to get the engine in - almost nothing else I can do until then. Now that I've got the crane,  I can make a start on the sump. The only problem is finding the space to get the engine on the crane - my driveway is gravel so the crane won't roll on it.

Wednesday, 18 November 2015

POWER!!

In best Top Gear fashion,  we have power:


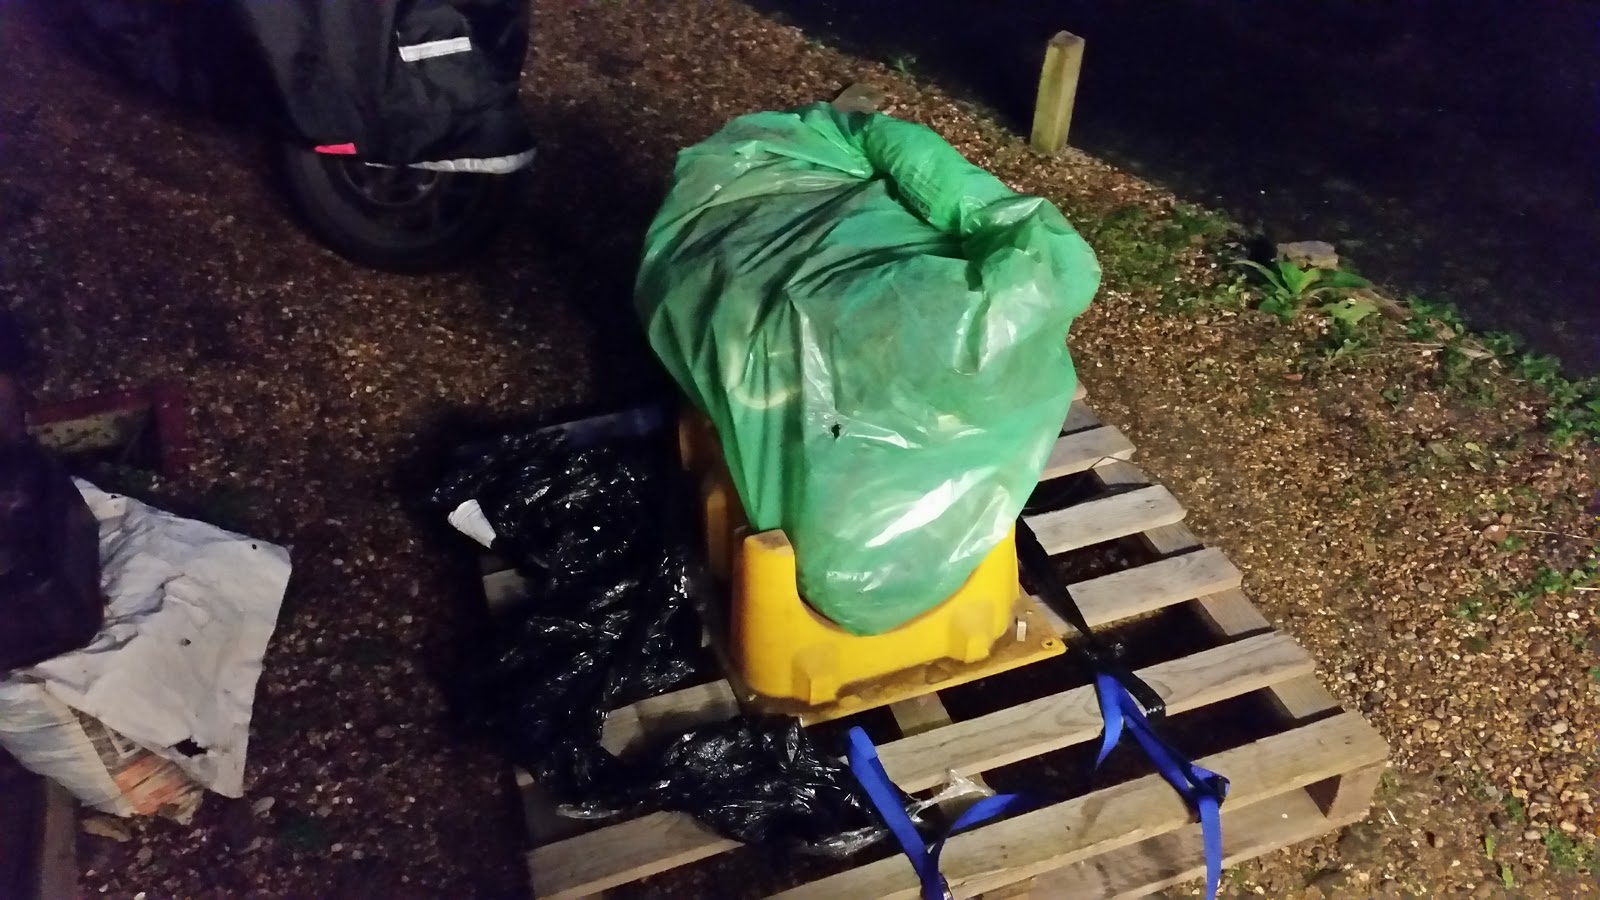
This is how it arrived and the delivery driver couldn't get the pallet up my gravel drive - it took me 10 minutes and some straps to drag it this far. A bit more heaving and it was dragged onto my GBS mOne:


As it was still early,  thought I might as well take some bits off the engine.  Being new(ish),  there  are no seized or rusted bolts so it's very quick. Took off the exhaust manifold on one side and the air inlet manifold and fuel rail on the other side:


... which left the engine looking much smaller:


... and me with a pile of parts:


Felt like Xmas today - as well as the engine, the sump,  alternator kit,  starter motor, plenum, gear quickshift and a few other odds and ends all arrived - darn exciting!


I haven't ordered a water rail - I'm hoping to save some cash and not get one. However,  I don't know exactly what's involved in using the standard cooling system,  so I'll probably end up getting it - we'll see. 

Tuesday, 17 November 2015

New GBS model

Just finished the latest GBS kit car,  the GBS mOne (minus one,  geddit? ) :


Not sure if it will get through IVA with those edges :-)

OK,  it's a dolly for the engine which should be being delivered tomorrow. Nicked the idea off Richard L and seems a great idea.

Very little else done - trimmed the accelerator pedal to fit in the pedal box and fitted the number plate light:


After  tomorrow,  I will have a load of work to do - engine,  sump,  alternator and several other bits arriving in one go.

Bit annoyed about the gearbox - a few months ago,  I'm sure I saw it for sale for about £500. Contacted the same company and it's now £800,  the same as GBS. I was hoping to save some money there - darn. So that's on order but might take up to 3 weeks.

In my previous post,  I had forgotten to include the windscreen and wet weather gear in my spreadsheet,  so that's added a £1k to my forecasted cost - doh!

Saturday, 14 November 2015

Power up

As it's such a big decision,  I'm devoting a post to engine choice (lucky you,  hey?).

Not which engine but where to get it from. You can buy any number of knackered old Zetec's with 100k+ miles on them for £150 or so. But my engineering skills are not up to engine stripping to make sure bores are smooth and big ends aren't on the way out,  so a 'new' Zetec is what I want.

I say 'new' but it's actually about 10 years old - Ford built too many and they have a warehouse of them sitting there,  to which several companies have access. So they're not exactly new but they haven't been used,  so it's close enough.

I've spent ages searching for someone selling these a bit cheaper than GBS but it's like a cartel - they all seem to have agreed the same price. GBS are currently offering free delivery on their engine,  so I will have to just pay the money and move on. There is a seller on eBay at the moment offering a new one that he bought but never got round to using. It's on for £100 less than GBS but the guy inconsiderately lives in deepest Cornwall - it will cost me £100 in petrol to go get it. Maybe a sneaky low offer might work?

There are several other major bits needed for the engine - I'm hoping GBS will deliver them for free with the engine...

The gearbox is another major item - I think I'll be getting that from a company called FirstMotion,  as they were recommended by another builder and I recall their MT75 being  good deal cheaper than GBS. I'll call them on Monday.

Finally today is the raised sump. GBS only offer the Raceline sump at £500 or so. There are a couple of other companies who do them a bit less than that but best of all is Tiger racing. They offer a sump for £275 which is a tasty saving. They do advise that it is not recommended for regular track use but that's fine for me - I hope to do the odd track day but that's all.  So I've ordered that today...

Once I buy the engine,  I'll have broken the £10k barrier on my build so far. My spreadsheet is currently forecasting a £14k total spend but there are still a few bits not on there yet - hopefully no more than £15k by the time I'm done.